
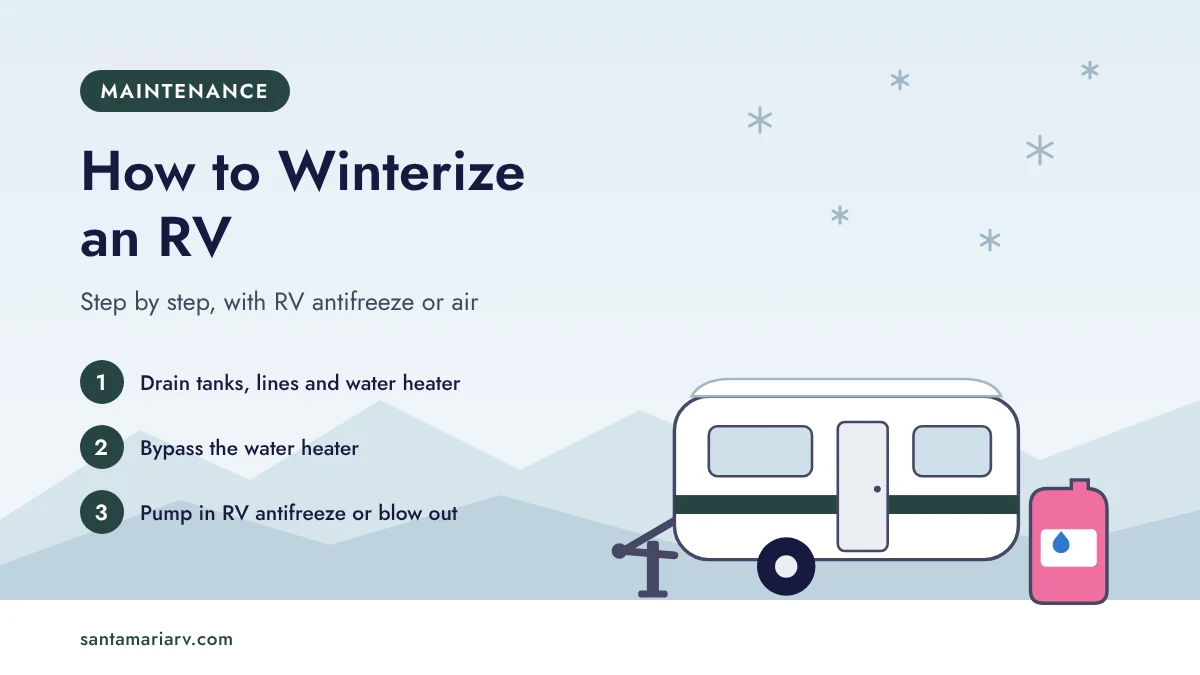
If you are wondering how to winterize an RV before freezing weather, the job comes down to three things: get the water out of the tanks, lines and water heater, bypass the water heater, and then either fill the lines with non-toxic RV antifreeze or blow them out with compressed air. Camco’s winterizing guide lists 2 to 4 gallons of RV antifreeze for an RV with the water heater bypassed, and notes that the amount may vary.
Every RV’s plumbing is a little different, so keep your owner’s manual open while you work. As Winnebago puts it, “the instructions in your owner’s manual should be the final word on what you do.”
Before You Start
When to do it. Winterize before freezing temperatures arrive. Water left in the system can freeze and crack the lines or damage the water heater tank, Tiffin Motorhomes warns.
Pick a method.
- Antifreeze method: you push RV antifreeze through every line and fixture. It needs no compressor, only a pump conversion kit or a hand pump, and it is what Tiffin calls its “Preferred Method.”
- Blow-out method: you push the water out with compressed air, then add antifreeze to the drains, P-traps, toilet and tanks. Forest River’s version uses less antifreeze, but you need a compressor, a pressure regulator and a blow-out plug.
What you’ll need:
- Non-toxic RV antifreeze (propylene glycol or ethanol based) — never automotive antifreeze
- A water heater bypass (built in on many RVs; aftermarket kits exist)
- A water pump conversion kit to draw antifreeze with the onboard pump, or a hand pump (Camco’s guide shows both)
- Basic hand tools for the water heater drain plug or anode rod
- For the blow-out method: an oilless air compressor with a regulator and an air filter, plus a blow-out plug for the city water inlet
- Rags and gloves
Use only RV antifreeze made for drinking-water systems. Forest River’s owner’s manual is blunt about it: “Never use automotive antifreeze in your fresh water system… Automotive antifreeze is toxic and not for use in potable (drinkable) water systems” (Forest River Forester manual).
How much RV antifreeze to buy. Quantities in manufacturer guides vary with the size of the RV and the method:
| Source | Method | Antifreeze |
|---|---|---|
| Camco | Antifreeze, water heater bypassed | 2–4 gallons (“Amt. may vary”) |
| Forest River manual | Compressed air, then antifreeze in drains, traps and tanks | 2 gallons |
| Forest River manual | Antifreeze only (including holding tanks) | 4–6 gallons |
Bypassing the water heater saves a lot of antifreeze: Camco says “as much as 6 to 8 gallons” that would otherwise go into the tank.
How to Winterize an RV: Step by Step
The order below follows the procedures from Tiffin and Forest River. Camco’s guide handles the water heater differently (see the note in step 3). If your manual uses a different order, follow the manual.
1. Empty and rinse the holding tanks
Empty the black and gray tanks at an approved dump station, as Tiffin advises. The Unique Camping + Marine guide also has you deep-clean both tanks and rinse the black tank. Close the valves when you’re done.
2. Turn off the water heater and let it cool
Switch off both the electric element and the gas (LP) side of the water heater. Disconnect the city water hose and turn off the 12-volt water pump. Let the water heater cool completely — never drain it while it is hot or under pressure.
Don’t leave the electric element on through the winter. “If it is left on, the heating element will burn out and you’ll need to replace it,” warns this winterizing guide from Unique Camping + Marine.
3. Open faucets and drain the fresh water system
Open every hot and cold faucet to release pressure. Then:
- drain the fresh water tank completely;
- open the low-point drains on the hot and cold lines, at the lowest points of the plumbing;
- once the water heater is cool, remove its drain plug or anode rod and open the pressure-relief valve (Tiffin’s order; Forest River sets the bypass first, then drains the heater).
Forest River’s manual also has you remove the cartridge from any water filter system and run the water pump “for at least 30 seconds to clear any water from the lines,” then switch it off. Camco says to bypass any in-line or undersink filtration systems.
Camco’s order is different. Camco’s guide says: “DO NOT DRAIN THE WATER HEATER until after you have filled your pipes with antifreeze.” In its procedure you bypass the water heater, fill the lines with antifreeze, and only then open the water heater drain and leave it open for the winter. Either way, the bypass keeps antifreeze out of the tank. Use the order in your owner’s manual.
4. Bypass the water heater
Turn the bypass valve (or valves) to the bypass position so water and antifreeze skip the water heater. Forest River notes that the valve sits near the heater’s incoming lines and that you may need to remove an access panel to reach it. Without a bypass, antifreeze fills the water heater tank — as much as 6 to 8 gallons, by Camco’s estimate.
5. Close the drains
Close the low-point drains and all faucets. Camco’s guide says to “leave open” the water heater drain for the winter, and Tiffin’s procedure does not put the plug or anode rod back in, so check your owner’s manual before you reinstall it.
6a. Antifreeze method: pump RV antifreeze through the lines
- Connect the pump’s inlet to a jug of RV antifreeze with a water pump conversion kit, or use a hand pump from the outside.
- Turn on the water pump.
- Work from the highest fixture to the lowest, as Camco’s guide does: begin with the kitchen faucet, then typically the bathroom sink, shower, toilet and finally the outdoor shower.
- At each faucet, Camco opens the hot side only until the flow “becomes very pink,” closes it, then repeats on the cold side. Forest River runs cold first, then hot; either way, both sides get antifreeze.
- Flush the toilet until pink antifreeze appears in the bowl.
- Replace the antifreeze jug with a new one as needed.
Don’t skip the “extras.” Tiffin’s procedure covers the washer, the ice maker or refrigerator water line and the exterior shower, plus antifreeze in the washer and dishwasher drains. Camco says to winterize the ice maker, washing machine and external shower according to their appliance manuals.
6b. Blow-out method: blow out the RV water lines
- Attach the blow-out plug to the city water inlet.
- Set the compressor regulator low. Forest River says “no greater than 30 lbs” (psi); Tiffin gives “30–50 PSI MAX”; Winnebago blows out at 35–50 psi and warns that “any higher may damage your plumbing.” Follow your own manual; where the guides differ, the lowest figure is the most cautious.
- Open each faucet (hot and cold), the shower, the toilet valve and the outside sprayer until no more water comes out.
- Disconnect the air and close all faucets and drains.
Forest River’s air method still finishes with antifreeze in the drains, P-traps, toilet and tanks, so go on to step 7.
7. Protect drains and traps
Pour RV antifreeze into every sink and shower drain to fill the P-traps — Tiffin says 1 to 2 cups per drain (toilet included), Camco at least 2 pints. Forest River’s antifreeze-only procedure also adds a gallon to the black tank through the toilet and a gallon down the sink drain that feeds each gray tank.
8. Prepare the rest of the RV for storage
- If you followed Camco’s order, open the water heater drain now, once the tank is cool, and leave it open.
- Leave the water heater and the water pump off; Forest River says not to start the water heater or use the plumbing after winterizing.
- Remove or disconnect the house batteries, or keep them on a maintenance charger (Tiffin).
- Cover the furnace, refrigerator and water heater vents with insect screens.
- Check tire pressure and seal the roof, as Tiffin’s storage list advises.
Antifreeze or Compressed Air: Which Method Is Better?
| Antifreeze method | Blow-out method | |
|---|---|---|
| Equipment | Pump conversion kit or hand pump | Compressor, regulator, filter, blow-out plug |
| Antifreeze needed | About 2–6 gallons (Camco, Forest River) | About 2 gallons for drains, traps and tanks (Forest River) |
| How Tiffin treats it | “Preferred Method” | Optional step before the antifreeze |
Camco’s guide combines the two: drain the system, blow out the remaining water with an oilless compressor, then add antifreeze. Blowing out is not required, Camco says, but “the remaining water will dilute your antifreeze,” and its -50 product “SHOULD NOT be diluted.” Tiffin also lists blowing out the lines as an optional step before its preferred antifreeze method. If your owner’s manual recommends one method, use that one.
Common Mistakes When Winterizing a Camper
- Draining a hot or pressurized water heater. Wait until it cools and relieve the pressure first.
- Forgetting the bypass. Camco says it can take as much as 6 to 8 gallons of extra antifreeze to fill the tank.
- Using automotive antifreeze. Forest River calls it toxic and not for use in drinking-water systems.
- Too much air pressure. Stay within your manual’s limit; Winnebago warns that going above 50 psi may damage your plumbing.
- Skipping the extras. Ice makers, washers and outdoor showers need attention too.
- Leaving the water heater switch on. The element can burn out.
If any step looks unfamiliar — especially working on the water heater or installing a bypass kit — a certified RV technician or service center can winterize the RV for you.
What to Do in Spring
De-winterizing is largely the reverse. Forest River’s manual says to “Flush and sanitize the water system prior to use”: drain the tanks, fill the fresh water tank, run the pump with the faucets open until the water runs clear, flush the toilet, dump the tanks again, sanitize the system and replace any water filter. Before using the water heater, close its drain if you left it open and turn the bypass valve back so the tank fills; only then turn the heater on.
Frequently Asked Questions
How much antifreeze does it take to winterize an RV?
About 2 to 4 gallons with the water heater bypassed, according to Camco’s checklist, which notes that the amount may vary. Forest River’s manual calls for 2 gallons if you blow out the lines with air first and 4 to 6 gallons for its antifreeze-only method.
Can you winterize an RV without antifreeze?
Not entirely. You can blow the water out with compressed air, but the manufacturer guides we checked still put some RV antifreeze in the drains and traps. Forest River’s air method uses 2 gallons for the drains, P-traps, toilet and tanks, and Tiffin treats blowing out as an optional step before its preferred antifreeze method.
Do you put antifreeze in the fresh water tank?
It depends on your manual. Camco draws antifreeze from a jug with a water pump conversion kit or adds it with a hand pump, and Tiffin uses the onboard pump siphon or an external pump. Forest River’s antifreeze-only method instead pours antifreeze into the drained fresh water tank, above the pump’s minimum operating level.
What happens if you don't winterize your RV?
Water left in the lines and water heater can freeze, crack pipes and damage the tank, Tiffin warns. Camco’s guide makes the same point: “Prevent freezing pipes and other damage by winterizing your RV.” That is why the guides drain the tanks and lines before adding antifreeze.
What temperature is RV antifreeze good to?
Camco’s -50 RV antifreeze is designed for burst protection to -50°F or below, and Camco also makes more concentrated products such as Winter Ban -100. The freeze point is different: in a properly winterized unit Camco expects ice crystals to start forming at around +10°F, a temperature it says “is not indicative of the winterizing protection.”